How to Make a DIY Journal


If you came here by way of How (and Why) to Keep a Book Lover's Journal you've come to the right place.
I don't know about you but I'm one of those people that cringes at the idea of wasting...anything. Time, money, cereal boxes. This hub will show you how to make your own journals and notebooks from cereal or frozen pizza boxes. It's not going to save you much (if any) money but it's a fun little craft and at the end of it you have a completely unique Journal. The journals in the pictures are a Book Lover's Journal and a Movie Lover's Journal, but you can make any kind you would like.
Materials:
- Notebook paper
- Cardboard (salvaged from cereal box, frozen pizza box etc.)
- Pencil
- Ruler
- Yarn or thread
- Darning needle
- Scissors
- Tape
- Old magazines or Newspapers
- Clip that opens fairly wide
Step 1
Cut your cereal or frozen pizza box so that the two largest rectangles remain.
(I apologize, I didn't think to take pictures of this part.)


Step 2
Decide how thick you want your journal to be, line up the leaves of paper you'll be using and clip them together.
Make sure that all the pages are facing in the right direction so that when you open the journal from right to left you can start writing at the top.
Make sure that your punch holes are lined up.
Note: Sorry about the yellow sheet. It's an IMDB top movie list. Try to ignore it.
Step 3
Lay the clipped stack of notebook paper over one sheet of cardboard. Using a ruler (or anything straight really, another book would work) trace around the stack of paper. Give yourself about 2 cm seam allowance.
Cut the cover out and repeat for the back cover.

Step 4
Straighten your stack of paper, then place the covers on either side, like a cover-paper-cover sandwich. Once it's at the perfect placement use the clip to secure all the sheets in place.
Note: Double check that all your paper is facing the right direction when you open the journal!

Step 5
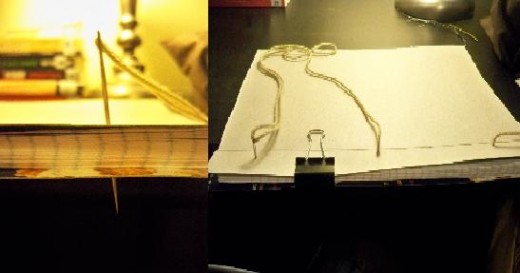
Cut about 1 m or 3 ft of yarn. Thread your yarn or thread through a darning needle. For thicker yarn I've found this is most easily done by folding the yarn into a loop to tame all the stray fibres. Then squish the loop flat and press it through the eye of your needle.

Step 6
Using the darning needle, pierce through the top cover. Thread the yarn through the BOTTOM hole. Don't tie it off, just leave a few inches hanging. Then pierce through the bottom cover and thread the yarn through the MIDDLE hole. Pierce the top cover again and thread the yarn through the TOP hole.
Step 7
Now push the darning needle through the bottom cover through the exisiting hole in the MIDDLE. Pull it taut. Push the darning needle through the top cover through the existing hole in the BOTTOM.
You should now have two threads ends on either side of the BOTTOM hole. Tie them off with a simple, tight note (keeps the pages in place) and cut them short.
Now take the loose yarn and pull it through the TOP hole. Tie them off with a simple tight knot and cut them short. These extra ties are not only symmetrical, together they will hold the covers and pages in place.

Step 8
Decorate! You can use anything you like. Tissue paper, wrapping paper. I finally found a use for all my old wedding magazines. I prefer a colourful, DIY-looking journal, but yours can be as subdued, orderly or crazy as you want. I use tape to stick my decorations to the front cover (MAKE SURE IT ACTUALLY IS THE FRONT) because I'm not patient enough to let glue dry, but it does show.
 This is what your journal should look like. (On the right) Letters and pictures from magazines are a great way to decorate your journal.")
Step 9
Use your journal!

(Optional) Step 10
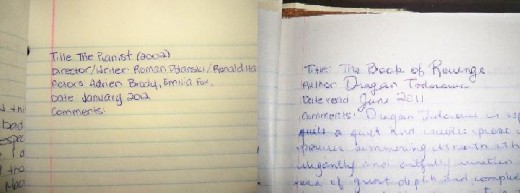
If you're using your journal to record the movies you watch or the books you read you may find it useful to have a template inside to write down pertinent information.
Very Important Step 11
Remember, making these journals is all about reducing, reusing and recycling so make sure that any and all recyclable scraps make their way to the appropriate receptacles.
I hope you enjoyed this tutorial and that your journal comes out beautifully! Thanks for stopping by.
- How (and Why) to Keep a Journal
If life is worth living, it’s worth recording. - Tony Robbins. Learn the many benefits of journalling!


")
